eBay Templates
eBay Templates
OpenBay Pro > eBay > Dashboard (Templates)
Build your descriptions, insert product videos, links to customer reviews, and endless possibilities for your items. HTML templates are an amazing way to make your listings look more professional by using a standard layout, your brand colours, logos and more. The templates also support tags that allow you to dynamically create almost any information you want in the listing description.
The eBay Listing Templates page can be found by navigating to OpenBay Pro > eBay > Dashboard, and click the Templates button.
Creating a template
To create a new template, click the Add New button at the top right of the page. Give your new template a name and enter your HTML code. You can include our custom tags in your code – for a list of available tags, see the Standard listing tags section below. When you have created your template, click the Save button at the top right of the page
Editing a template
To edit a template, click the Edit button next to the template name you wish to change. You can then modify the HTML code as required. When you have completed your changes, click the Save button at the top right of the page or if you do not wish to retain your changes, click Cancel.
Current eBay Listings unaffected
Please note that changes to a template will only affect new eBay listings and have no effect on listings created from the previous version of the template.
Deleting a template
To delete a template, click the Delete button next to the template name you wish to remove. Please note that removing a template will be permanent.
Current eBay Listings unaffected
Please note that deleting a template has no effect on listings already created from the template.
Assigning a default template
Navigate to OpenBay Pro > eBay > Dashboard, and click the Profiles button.
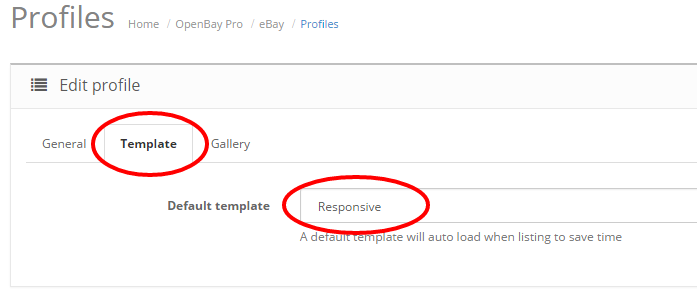
Either edit or create a new Template & Gallery profile.

Under the Template tab, choose your Default template from the list, which contains all the templates created in the Templates area. After saving the profile, any new eBay listings created with this profile will automatically use the default template set here.
Images in templates
If you wish to use images in your template that will form part of the layout, such as a banner or logo, etc, then to reference these images you will need to use the full image URL. For example:
https://www.mystore.com/catalog/view/theme/default/ebay/My%20company%20template/images/myimage.jpg
This would look like the following inside your <img> tag.
<img src="https://www.mystore.com/catalog/view/theme/default/ebay/My%20company%20template/images/myimage.jpg" alt="My Image" />
You will need to ensure that you replace spaces in the URL with %20.
JavaScript in templates
Please be aware that eBay no longer allows active content such as JavaScript, Flash, plug-ins and form actions in its listings so this will not be rendered in listings.
Template testing tool
To help designers/developers create templates for OpenBay Pro, we created a template testing tool. This allows you to test how your template will look when populated with your product data without having to log into your website and go through the listing process each time you want to test your design.
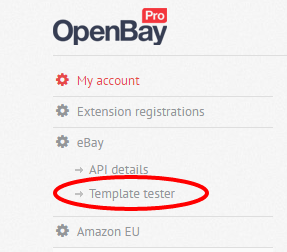
To access the tool, Log into your OpenBay Pro account (or Register) and under the eBay menu option, select Template tester.
If you have an eBay account registered to your account then the token and secret will be populated for you, if not then you will need to copy and paste these into the Template tester form as shown below.
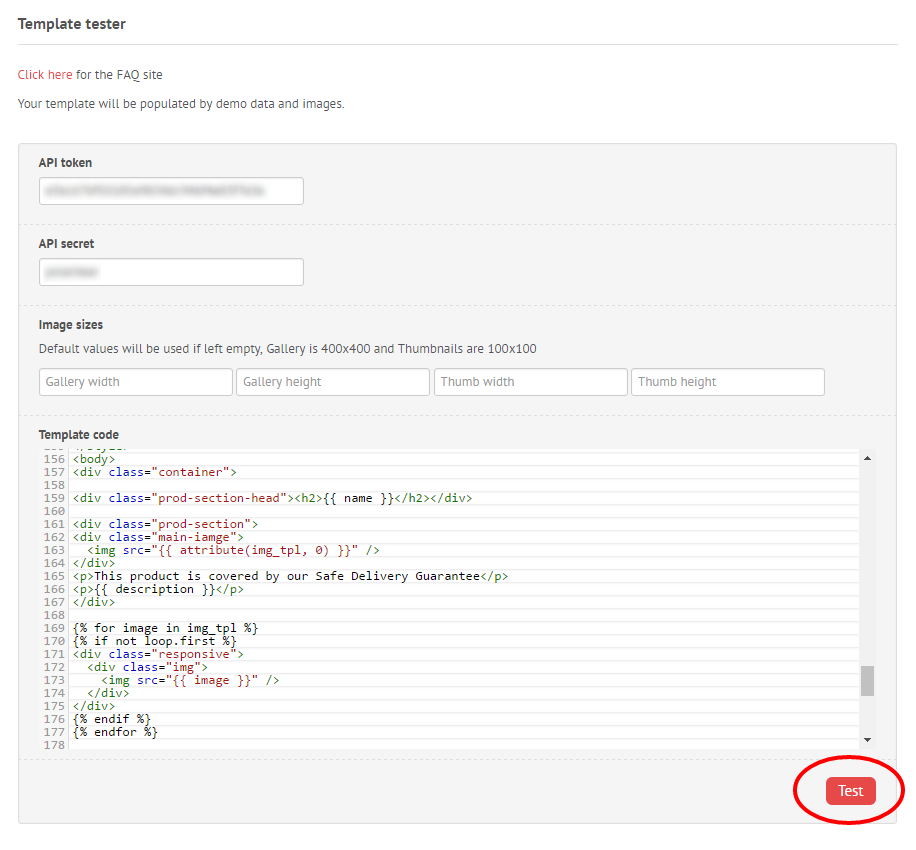
The gallery options allow you to change the default image sizes for the demo products. They will default to 400 x 400 pixels for the gallery and 100 x 100 pixels for the thumbnails. If you enter different values in the input boxes, then the images in the template will use your sizes instead.
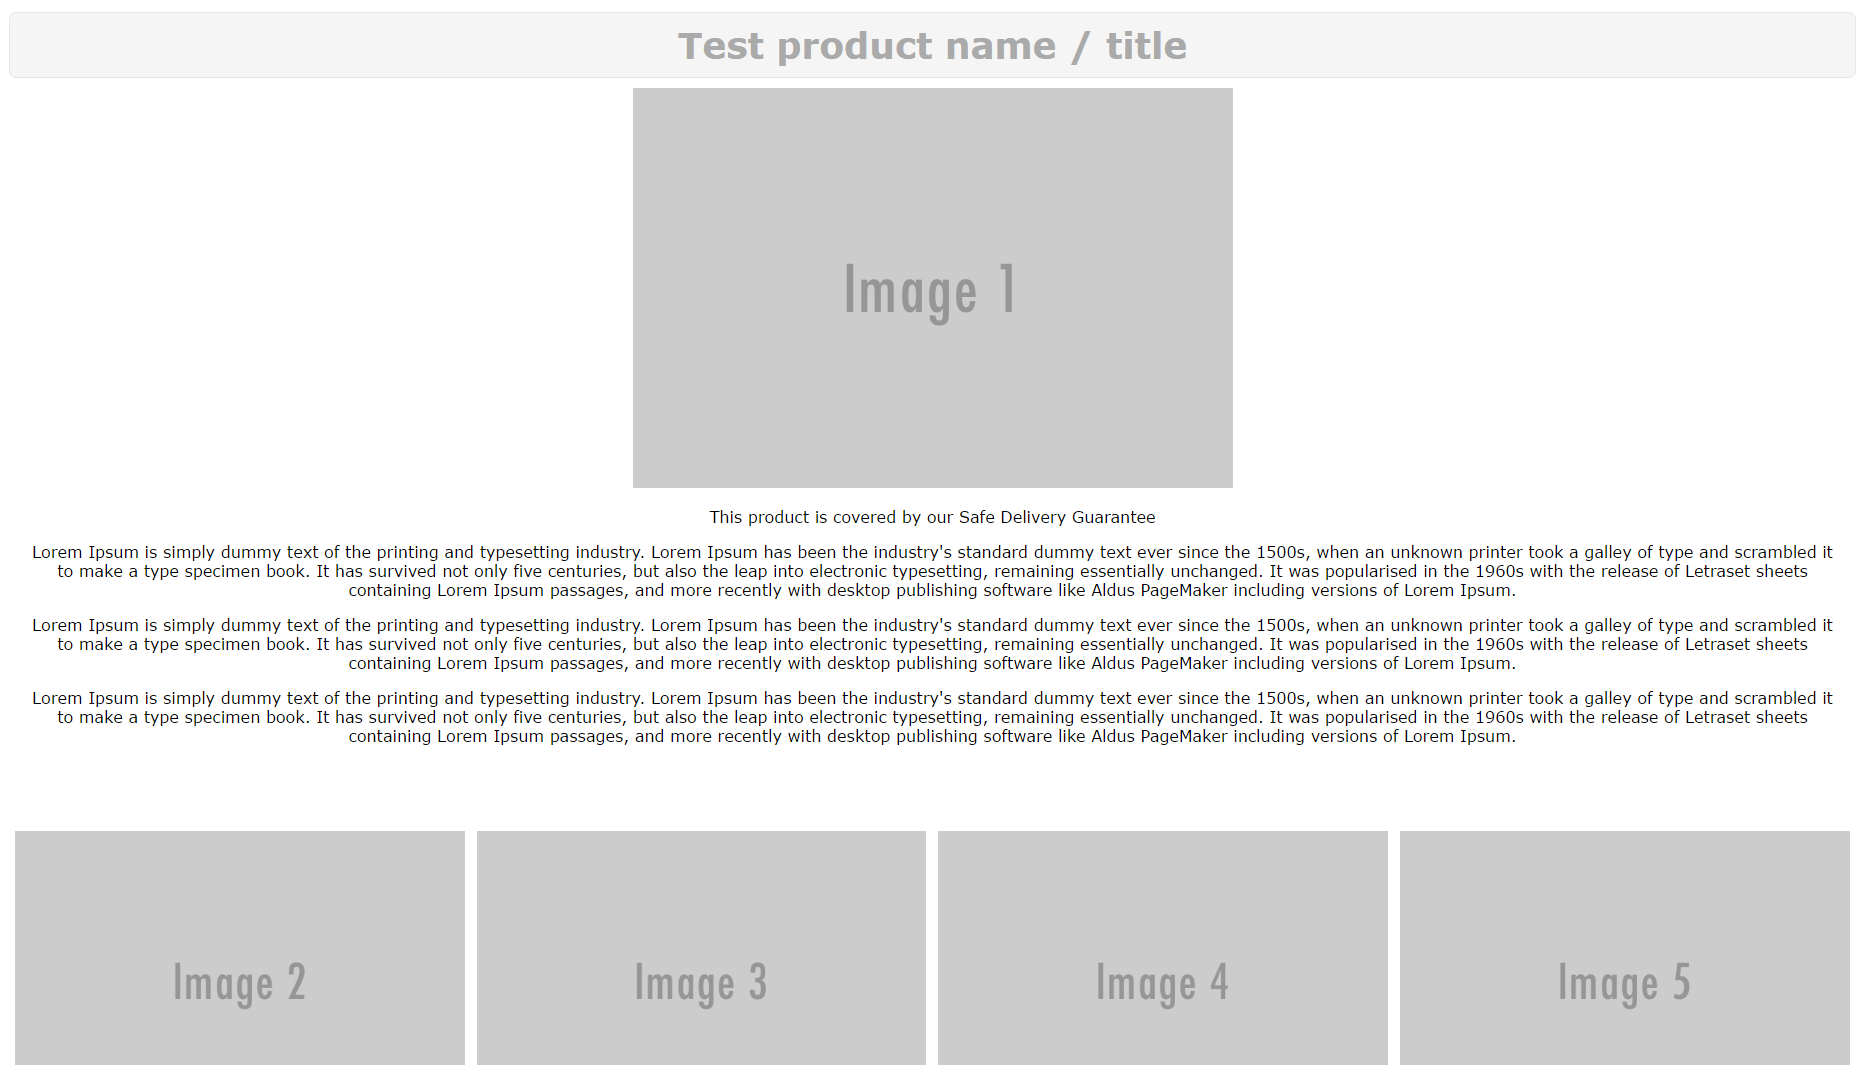
Copy and paste your template code into the text area. You will see that your template code is highlighted in different colours, making it easier to read and make minor changes if required. When ready to test your template, click the Test button and wait for it to load. If your template renders ok then a green message will appear with the link to your HTML file. Click this link to see your template in action!
If your template renders ok, a green message will appear with the link to view your template. Click this link to see your template in action!

If your template does not render properly, you may receive an error, which you will need to fix before trying again.

Your template may render ok but still not look as you had expected. After removing any problem code or tweaking your design, render the template again by clicking the Test button.
Standard listing tags
Variable: name
Type: String
Usage:
<p>{{ name }}</p>
Description: This will add your eBay listing title.
Variable: description
Type: String
Usage:
<p>{{ description }}</p>
Description: This is your main description content.
Variable: return_policy
Type: String
Usage:
<p>{{ return_policy }}</p>
Description: This is the same information as you send to eBay in your returns description.
Variable: payment_instruction
Type: String
Usage:
<p>{{ payment_instruction }}</p>
Description: This is the same information as you send to eBay in your payment description.
Variable: attributes
Type: Array
Usage:
{% for attribute in attributes %}
   <p>{{ attribute.name}}</p>
   {% for att in attribute.attribute %}
      <strong>{{ att.name }}</strong>
      <p>{{ att.text }}</p>
   {% endfor %}
{% endfor %}
Description: This will get all of the product attributes for the product.
Variable: img_tpl
Type: Array
Usage:
{% for image in img_tpl %}
   <img src="{{ image }}">
{% endfor %}
Description: This object contains links to all the images part of your eBay listing.
To obtain a single URL from the object you must use the Twig attribute function, i.e.
{{ attribute(img_tpl, 0) }}
The above code will output the first image URL in the object. If you need a different image change the number.
Variable: img_tpl_thumb
Type: Array
Usage:
{% for image in img_tpl_thumb %}
   <img src="{{ image }}">
{% endfor %}
Description: This contains links to thumbnails of all the images part of your eBay listing.
To obtain a single URL from the object you must use the Twig attribute function, i.e.
{{ attribute(img_tpl_thumb, 0) }}
The above code will output the first image URL in the object. If you need a different image change the number.
Variable: shop_categories
Type: String
Usage:
{{ shop_categories }}
Description: Injects an HTML menu structure using JavaScript based on your eBay shop categories. You must have an eBay shop and be on a paid OpenBay Pro plan to use this tag. You need to use CSS to control the structure created below:
<div id="store-categories">
  <ul>
    <li>
      <a href="">Category 1 name</a>
      <ul>
        <li>
          <a href="">Child 1 category name</a>
          <ul>
            <li>
              <a href="">Child-child category name</a>
            </li>
          </ul>
        </li>
        <li><a href="">Child 2 category name</a></li>
      </ul>
    </li>
    <li><a href="">Category 2 name</a></li>
    <li><a href="">Category 3 name</a></li>
  </ul>
</div>
Variable: shop_navigation
Type: String
Usage:
{{ shop_navigation }}
Description: Injects an HTML menu structure using JavaScript based on your eBay shop custom pages. You must have an eBay shop and be on a paid OpenBay Pro plan to use this tag. You need to use CSS to control the structure created below:
<div id="store-pages">
  <ul>
    <li>
      <a href="">Page 1 name</a>
      <a href="">Page 2 name</a>
    </li>
  </ul>
</div>
Variable: product_info.model
Type: String
Usage:
<p>{{ product_info.model }}</p>
Description: The product model number.
Variable: product_info.price
Type: String
Usage:
<p>£{{ product_info.price|number_format(2, '.', ',') }}</p>
Description: The product price.
This format will show the price with a British pound sign, to two decimal places, and with a thousand comma separator.
Variable: product_info.sku
Type: String
Usage:
<p>{{ product_info.sku }}</p>
Description: The product SKU.
Variable: product_info.upc
Type: String
Usage:
<p>{{ product_info.upc }}</p>
Description: The product UPC.
Variable: product_info.ean
Type: String
Usage:
<p>{{ product_info.ean }}</p>
Description: The product EAN.
Variable: product_info.jan
Type: String
Usage:
<p>{{ product_info.jan }}</p>
Description: The product JAN.
Variable: product_info.isbn
Type: String
Usage:
<p>{{ product_info.isbn }}</p>
Description: The product ISBN.
Variable: product_info.mpn
Type: String
Usage:
<p>{{ product_info.mpn }}</p>
Description: The product MPN.
Variable: product_info.location
Type: String
Usage:
<p>{{ product_info.location }}</p>
Description: The product Location.
Variable: product_info.manufacturer
Type: String
Usage:
<p>{{ product_info.manufacturer }}</p>
Description: The product manufacturer.
Variable: product_info.name
Type: String
Usage:
<p>{{ product_info.name }}</p>
Description: The products original name on your website.
Variable: product_info.tag
Type: String
Usage:
<p>{{ product_info.tag }}</p>
Description: The product tags.
Variable: product_info.weight
Type: Decimal
Usage:
<p>{{ product_info.weight }}</p>
Description: The product weight unit.
Variable: product_info.weight_class
Type: String
Usage:
<p>{{ product_info.weight_class }}</p>
Description: The product weight class (kg, g, lbs etc).
Variable: product_info.length
Type: Decimal
Usage:
<p>{{ product_info.length }}</p>
Description: The product length.
Variable: product_info.width
Type: Decimal
Usage:
<p>{{ product_info.width }}</p>
Description: The product width.
Variable: product_info.height
Type: Decimal
Usage:
<p>{{ product_info.height }}</p>
Description: The product height.
Variable: product_info.length_class
Type: Decimal
Usage:
<p>{{ product_info.length_class }}</p>
Description: The product length class (cm, mm, m etc).
Variable: product_info.product_filters
Type: Array
Usage:
{% for filter in product_info.product_filters %}
  {{ filter.filter_id }} - {{ filter.group }} - {{ filter.name }}
{% endfor %}
Description: Access any product filters assigned to the product. *Available on 2.0+ versions only.
Customer support service by UserEcho
